全友装修干货:7大卫生间装修雷区揭秘
Ultimate Bathroom Renovation Tips for a Comfortable Space Transform Your Bathroom: 7 Essential Renovation Tips
The bathroom, it's the starting point for vitality in the morning and the corner where you卸下 your tiredness at night. However, a slight oversight during renovation can lead to hidden problems: tile gaps causing water leakage, walls developing mold and spots, and loud draining noises... Today, we delve into 7 key bathroom renovation details to help you create a comfortable and peaceful sanctuary.
01 Avoid Using Construction Waste for Backfill
Refuse to use broken bricks or concrete blocks for backfilling! These materials are uneven in hardness, easily scratch the waterproofing layer, and may cause ground cracking and water leakage over time.
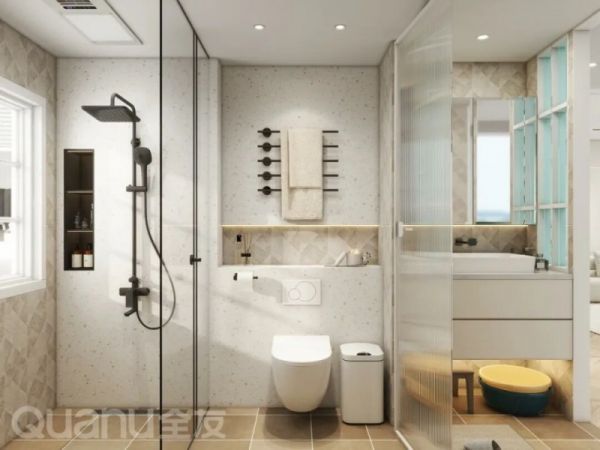
For small spaces, use perlite + cement. For large spaces, choose陶粒 mixed with cement and sand. If using an elevated backfill, the brick frame spacing should be ≤60cm to prevent precast slab cracking.
02 Install Threshold Stone Before Waterproofing
Waterproofing before installing the threshold stone can leave gaps at the junction, causing seepage that leads to wall dampness in the corridor.
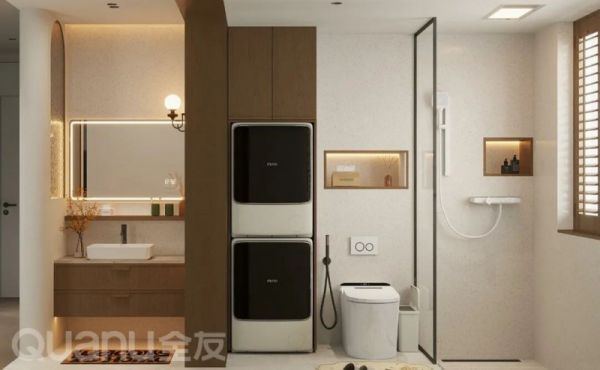
Measure and cut the stone in advance, fix it with cement mortar, ensure the outer side is 5mm higher than the bathroom floor and the inner side is level, and seal the gap with mold-proof glass glue for better moisture prevention.
03 Do Not Lay Tiles Immediately After Waterproofing
Laying tiles before the waterproofing coating has cured can damage the coating structure, leading to tile hollowing and falling off.
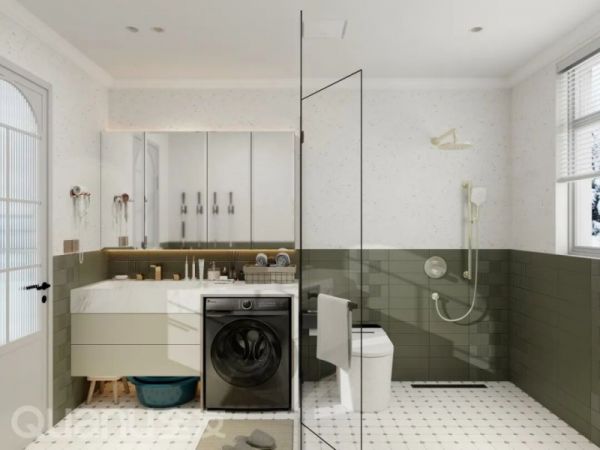
The correct process is to apply 2-3 coats of waterproofing, with each coat separated by 8 hours, ventilate and dry for 24-48 hours, and then conduct a water tightness test (3cm of water for 24 hours) before laying tiles.
04 Apply Waterproofing Adhesive to Cold and Hot Water Heads
Using only plumber's tape can cause the joint to loosen under long-term water flow, leading to moisture seeping into the wall causing the outer wall to peel and mold.
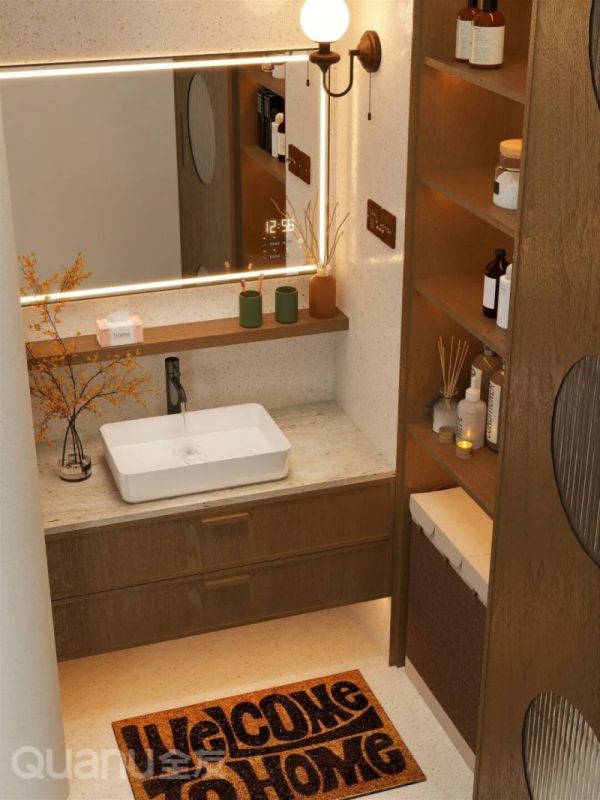
Apply 5 turns of plumber's tape clockwise to the water pipe thread, apply neutral silicone waterproofing adhesive at the tile opening, and clean any excess adhesive after installation. Never use acidic glass glue as it can corrode metal taps!
05 Install Tiles Before Public Exhaust Pipe Opening
Installing pipes before laying tiles can result in large gaps in the cut tiles, making it impossible to seal the check valve, and allowing odor from above to enter.
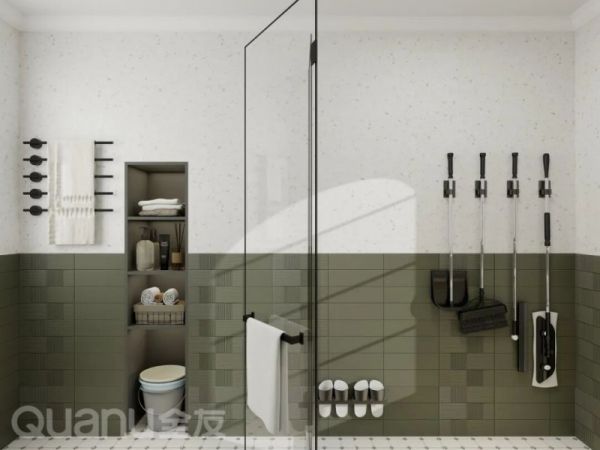
Use professional tools to cut the tiles around the pipe into a circular shape, ensuring the gap is ≤2mm, apply waterproofing glue after the gap is sealed, install a check valve with a silicone seal, and clean it once every 3 months to prevent blockage.
06 Do Full Home Grout First in the Bathroom
Postponing grouting can lead to dust and sewage渗入 the gaps, making it difficult for the grout to adhere firmly, and eventually causing it to turn black and mold.
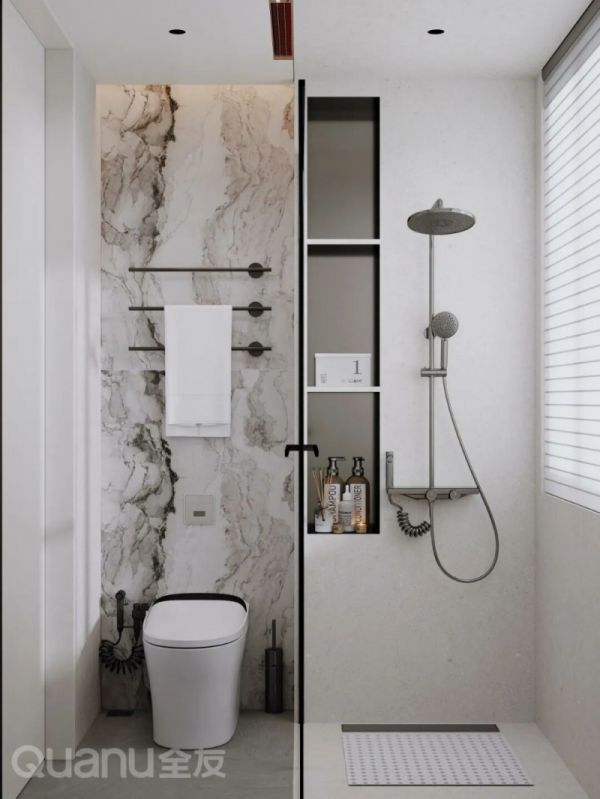
After the tiles are laid, use a cleaning cone to clean the gaps one week later, then apply epoxy sand-type grout, avoid water for 24 hours, and it can be used normally after 48 hours.
07 Wrap Noise Concentration Points with Soundproofing棉
Without wrapping soundproofing cotton, the noise from the toilet drain pipe can reach over 50 decibels, affecting your sleep at night.
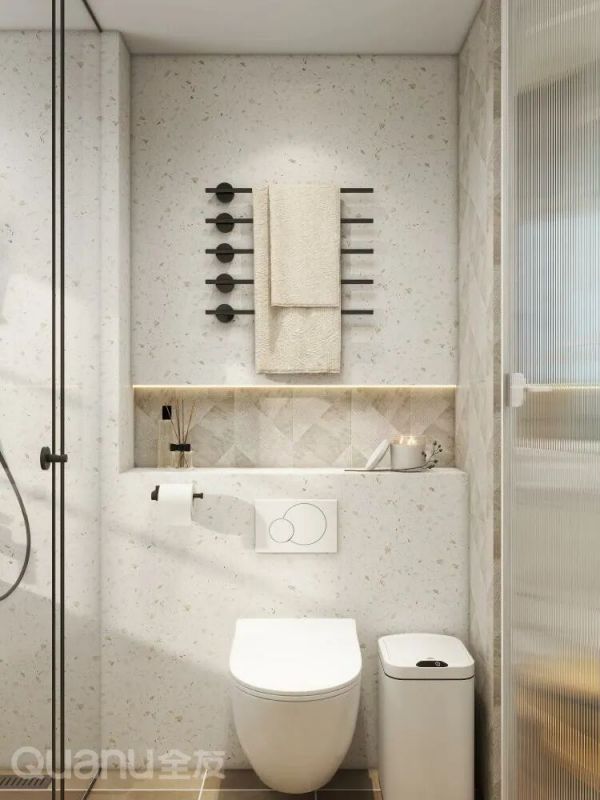
Use soundproofing cotton with a thickness of ≥5cm with adhesive, wrap around the water trap, drain pipe, and vertical pipe, secure it to 10cm above the ceiling with aluminum foil tape, and ensure there are no gaps.
Is this information helpful? If you want a perfect bathroom for your new home, welcome to consult and understand at the Quan You Full Home Customization offline store.
相关知识
全友揭秘:卫生间装修7大雷区,避坑指南!
全友干货丨翻车率90%?7个卫生间装修雷区提前排
全友装修干货:7大卫生间装修雷区揭秘
卫生间装修注意这些细节,全友带你提升入住体验
这几个卫生间装修要点,全友帮大家提前避坑
武汉新房主,装修甲醛“雷区”咋避开?
全友干货分享 | 装修不了解顺序,小心吃大亏
忍无可忍,揭穿装修游击队的7大陷阱!
掌握这几个装修技巧,全友教你从源头上去除卫生死角
全友家居干货丨养宠住宅装修经验总结,年轻人都赞了!
网址: 全友装修干货:7大卫生间装修雷区揭秘 http://m.jiajubaike.cn/newsview131512.html